From BreakEnderGuide
Hose Out Your PC Like a Zoo Exhibit
By the BreakEnder newsroom ·
How to clean a gaming PC with compressed air (and when to pull the CMOS battery)
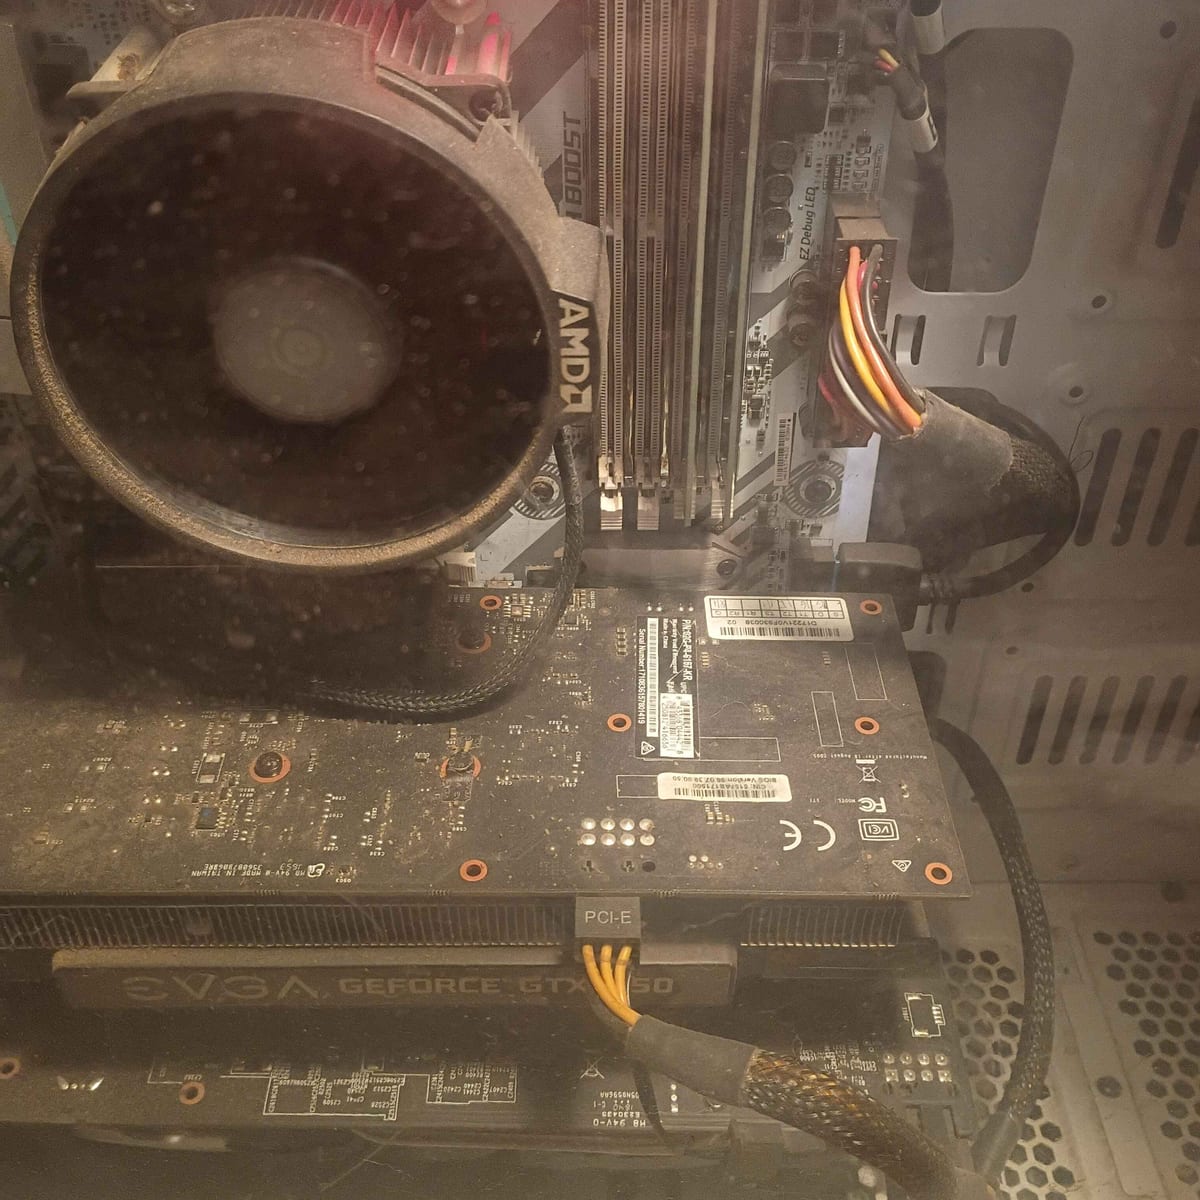
Dust is a slow performance killer. It packs into heatsink fins, chokes intake filters and turns a quiet rig into a jet engine that still thermal throttles. The fix is cheap and takes half an hour: carry the case outside, stand back, and hose it down with air like a zookeeper cleaning the elephant enclosure. The trick is doing it in a way that leaves every part alive.
What you need
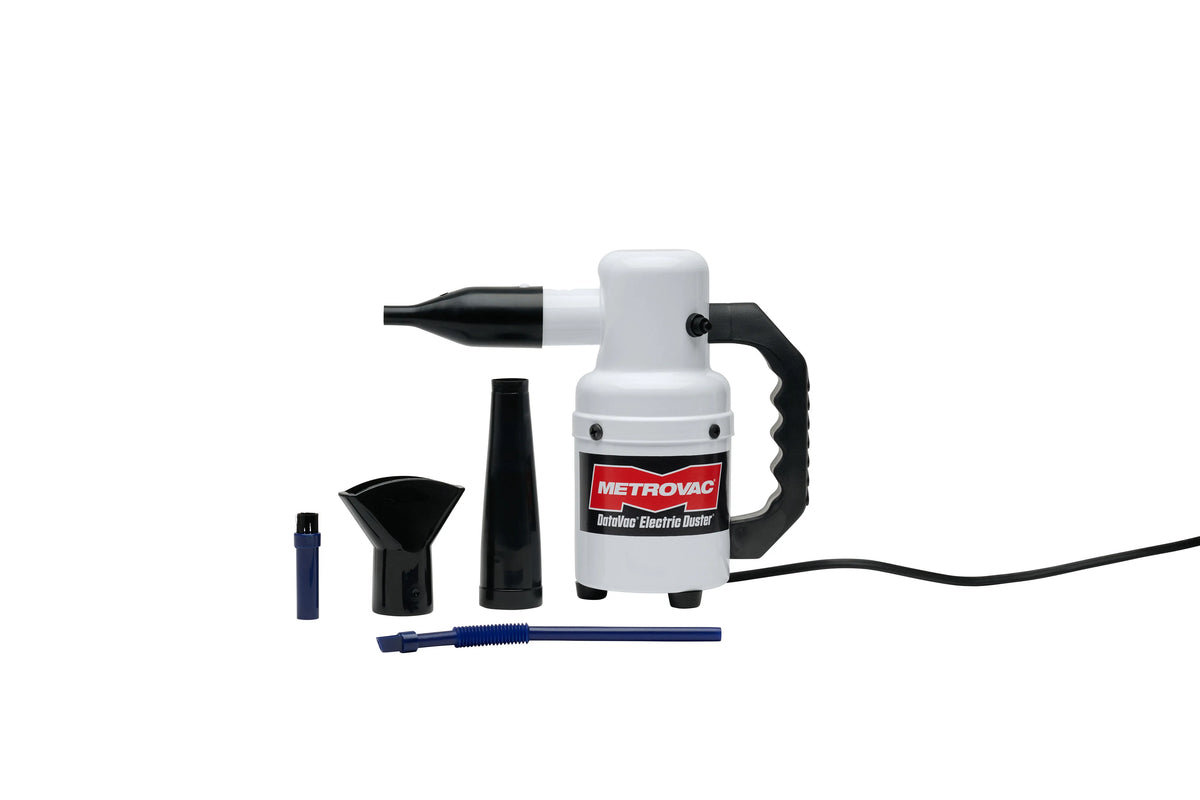
- An electric duster: the DataVac ED500 Electric Duster is the long-running favorite, made in the USA, and it never runs out
- A couple of cans for tight spots: Dust-Off compressed gas duster, 2 pack
- An anti-static wrist strap: Rosewill anti-static wrist strap
- Soft anti-static brushes: anti-static nylon brush kit
- 99% isopropyl alcohol and microfiber cloths (shop 99% isopropyl, shop microfiber cloths)
- A spare coin cell if your clock keeps resetting: Energizer 2032, 4 pack
An electric blower pays for itself after a few cleanings. Cans get cold, lose pressure fast and cost money every time. Keep one can around for precision work near small components.
What is actually in a can of "air"
Not air. Canned duster is a liquefied gas, usually difluoroethane (HFC-152a) or tetrafluoroethane (HFC-134a), the same family of chemicals used as refrigerants. It is not a solvent and does not clean anything chemically; it just blows. Three things follow from that:
- It comes out freezing cold, and if the can is tilted it sprays liquid that can frost a component and leave a residue (many brands add a bitter agent to discourage misuse).
- Difluoroethane is flammable. The label on most cans says so. Never spray it into a PC that is powered on, and keep it away from anything that can spark.
- The gas needs a few minutes to clear out of a case before you close it up and power on.
Step 1: Power down properly
Shut Windows or Linux down, flip the PSU switch to off, and unplug the power cord. Then press and hold the case power button for about ten seconds. That drains the leftover charge in the board and PSU capacitors. Unplug every other cable too: display, USB, network, audio.
One thing is still live after all that: the coin cell on the motherboard (the CMOS battery). If you are going to use canned duster around the board, pull that battery too, so nothing on the board has power while flammable propellant is in the case. The section below covers what that resets and how to do it. With an electric duster there is no propellant, and you can leave the battery in.
Step 2: Move the exhibit outside
This is the zoo part. Carry the tower to a garage, balcony or driveway. A full cleaning throws a surprising cloud of dust, pet hair and skin flakes, and you do not want it settling back into your room or your lungs. Outdoors or a well ventilated space, every time. Pick a dry, calm day; wind and humidity work against you.
Pop off the side panel and the front panel if it comes off easily. Pull out any removable dust filters.
Step 3: Ground yourself
Static discharge can damage parts without any visible spark. Wear the wrist strap and clip it to bare metal on the case. No strap? Touch an unpainted part of the chassis often while you work, and avoid working on carpet.
Step 4: Hold the fans still
This is the most common mistake. Blasting a fan with air spins it far past its rated speed. That wears out the bearing, and a spinning fan acts as a tiny generator that can push current back toward the header. Hold each fan blade with a finger, a plastic tool or a chopstick while you blow through it. Case fans, CPU cooler fans, radiator fans, GPU fans, all of them.
Step 5: Short bursts, can upright
Tilt or shake a can of duster and it spits freezing liquid propellant, which can frost components and leave residue. Keep the can upright and use short bursts of a second or two. Let it rest when it gets cold. Electric dusters do not have this problem, which is another reason to own one.
Work from the top down so dust falls out of the case rather than deeper into it:
- Top exhaust fans and the top of the case
- CPU cooler fins, holding the fan still
- Radiator fins if you run an AIO
- Motherboard surfaces, VRM heatsinks and the area around the RAM
- GPU: blow through the heatsink from the backplate side and from the fan side, fans held still
- Bottom of the case and the front intake area
The GPU heatsink is usually the worst offender. Dust collects on the intake face of the fins in a felt-like mat. Give it multiple passes from different angles and use a soft brush to loosen stubborn layers before you blow.
Step 6: Filters and the power supply
Dust filters can be blown out from the clean side so dust exits the way it came in. Mesh filters can also be rinsed with water, but only the filter, off the PC, and only once it is completely dry before it goes back.
The PSU is cleaned from the outside only. Blow through the intake grille and the exhaust grille, holding the fan still with something non-conductive through the grille if you can. Never open a power supply. Its capacitors can hold a dangerous charge long after it has been unplugged, and there are no user serviceable parts inside.
Never water
The zoo exhibit image stops at the hose. Nothing on the PC itself gets water, cleaning spray or a wet rag. If you need to clean a sticky panel or old thermal paste, use 99% isopropyl alcohol on a microfiber cloth. It evaporates quickly and leaves nothing behind. Lower percentages contain more water and are a poor choice for electronics.
The CMOS battery: what it is and when to pull it
That silver coin on the motherboard is a CR2032 lithium cell. It keeps the real-time clock running and, on many boards, keeps BIOS settings alive while the PC is unplugged. It is the only part of an unplugged PC that still has power. Pull it in these cases:
- Before a cleaning with canned duster, so the board is fully dead while the propellant is around (see Step 1)
- Clearing the BIOS after a bad overclock or memory setting that will not POST
- Resetting a board that is acting strangely after a firmware change
- Replacing a dead battery when the clock and date reset every time you unplug the PC
Removing it resets BIOS settings to defaults. That means XMP or EXPO memory profiles, boot order, fan curves, virtualization settings, Resizable BAR and any custom voltages. Before you clear anything, photograph each BIOS page with your phone or write down the values you care about.
How to do it:
- Make sure the PC is unplugged and drained (Step 1)
- Press the small metal clip beside the battery so the coin pops up; use a plastic tool, not a screwdriver
- Wait a few minutes; some boards want longer, and holding the power button helps drain the board
- After a canned-duster cleaning, give the open case five minutes so the propellant clears before the battery goes back in
- Insert the battery, or a fresh CR2032 (Energizer 2032, 4 pack), with the plus side facing up
- Boot, enter the BIOS, set the time and restore your saved settings
Many boards make this easier with a Clear CMOS jumper or a rear-panel Clear CMOS button. The manual shows where it is. If your battery sits under the GPU, the button or jumper saves you a lot of disassembly.
Keyboards and peripherals
Unplug the keyboard, turn it upside down and blow at an angle between the keys. For a deep clean on a mechanical board, pull keycaps with a puller, blow out the plate, wipe the caps with a cloth dampened with isopropyl alcohol and let everything dry. Mice: blow out the sensor window gently and wipe the feet. Headset ear cushions can be wiped with a barely damp cloth, never soaked.
Put it back together
Reinstall filters, close the panels, carry the PC back inside and reconnect everything. Boot and check temperatures under a game or a stress test. A good cleaning often drops GPU and CPU temperatures noticeably and lets fan curves calm down.
Repeat every three to six months, more often with pets or carpet. A few minutes in the garage with an air duster is the cheapest performance upgrade you will ever buy.
As an Amazon Associate we earn from qualifying purchases.
This post is written by BreakEnder. It is our own news, not a publisher's story.